|
|
|
Google Antigravity is an incredible new VS Code–based, agent-first IDE: it lets you give higher-level goals and have agents plan, edit files, run commands, and use a browser—while producing text, image, and even video artifacts you can review to verify exactly what happened. |
Let's learn how you can start making the most of all the innovative features it has to offer in your day-to-day workflow as a developer. |
Become a much faster, more powerful developer. |
1) Install and sign in |
Antigravity is available for all desktop platforms. |
|
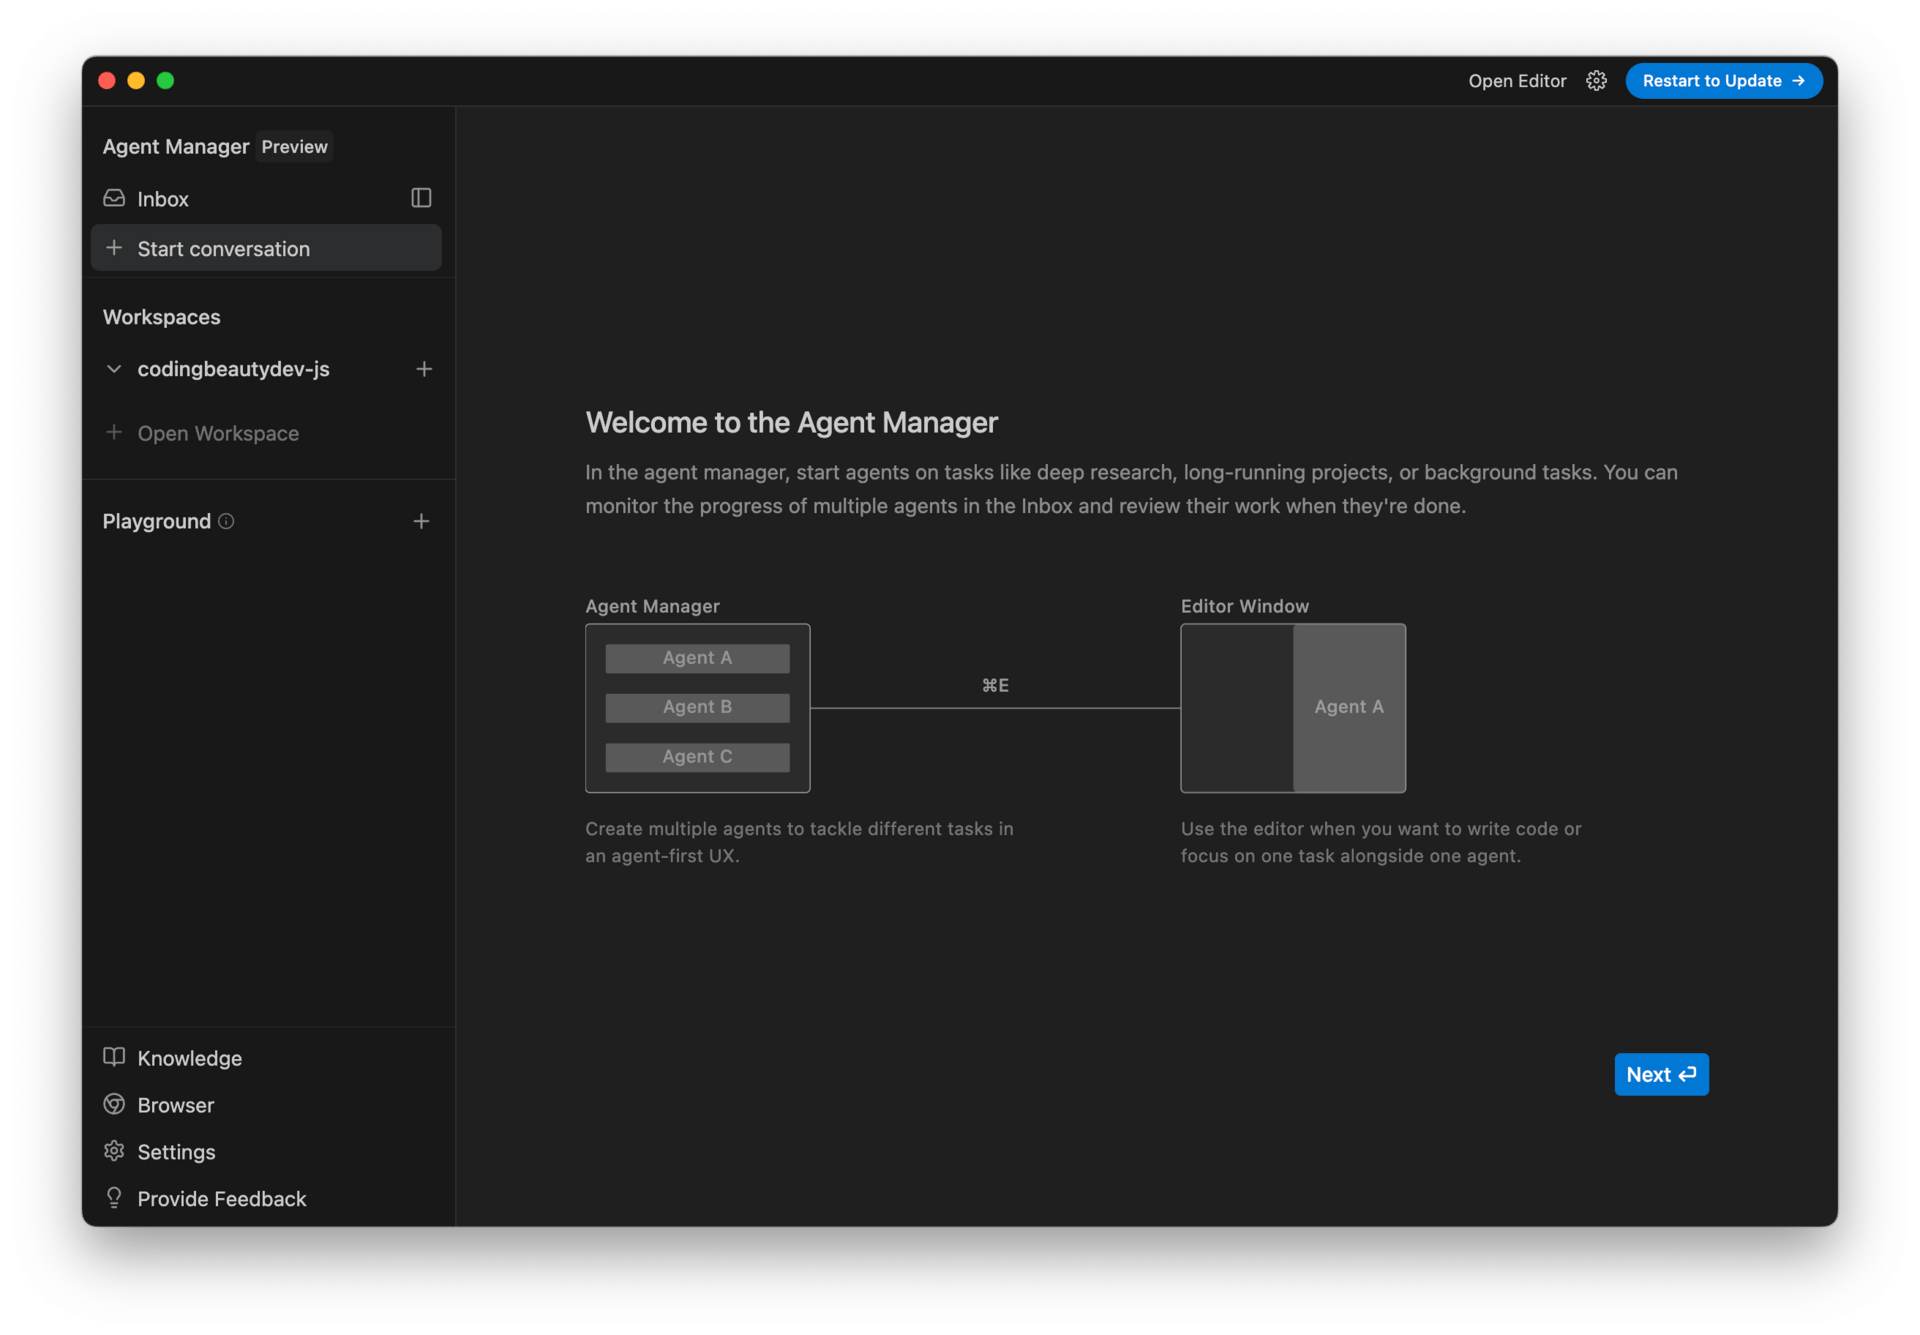
On first launch, you'll usually land in the Agent Manager (the orchestration view), not just an editor window. |
You'll find a screen like this on first launch -- very similar to what you get from VS Code, so you feel right at home. |
|
2) Understand the two main views |
This is one area where Antigravity innovates and stands out from the rest. |
Antigravity centers your work around two surfaces: |
Agent Manager (Mission Control) |
|
This is where you start "missions," assign tasks to agents, and monitor multiple agents or threads. It's the place to describe outcomes like "build a feature" or "refactor the app" rather than "change this one line. |
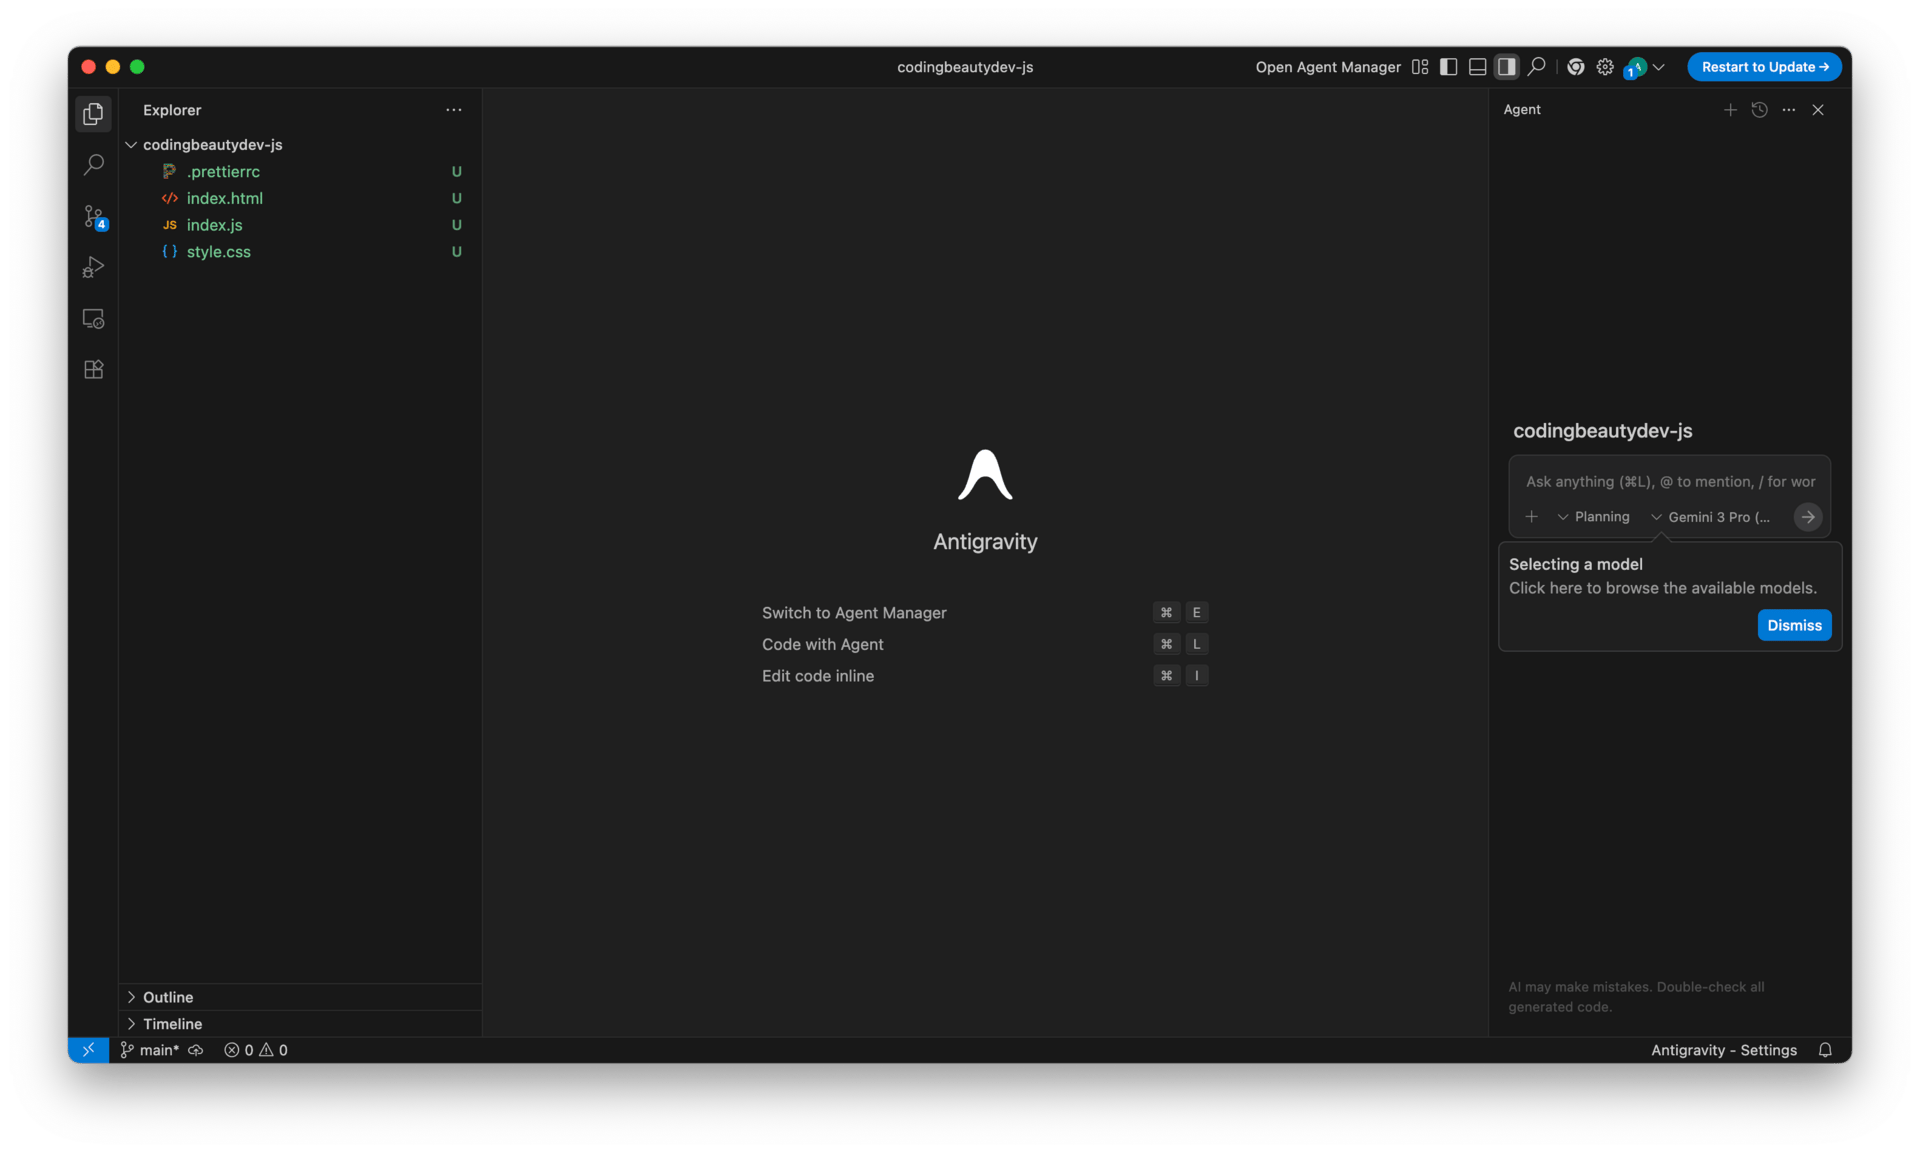
Editor view (hands-on coding) |
|
Your normal IDE view: browse files, edit directly, run local tooling, and inspect code. Antigravity is VS Code–based, so the editor feels familiar. |
These two exist in separate windows -- so you can use your normal Alt+Tab or Command+` to switch between them. |
3) Start your first agent session |
A reliable first workflow looks like this: |
1. Open a workspace |
Select your project folder. |
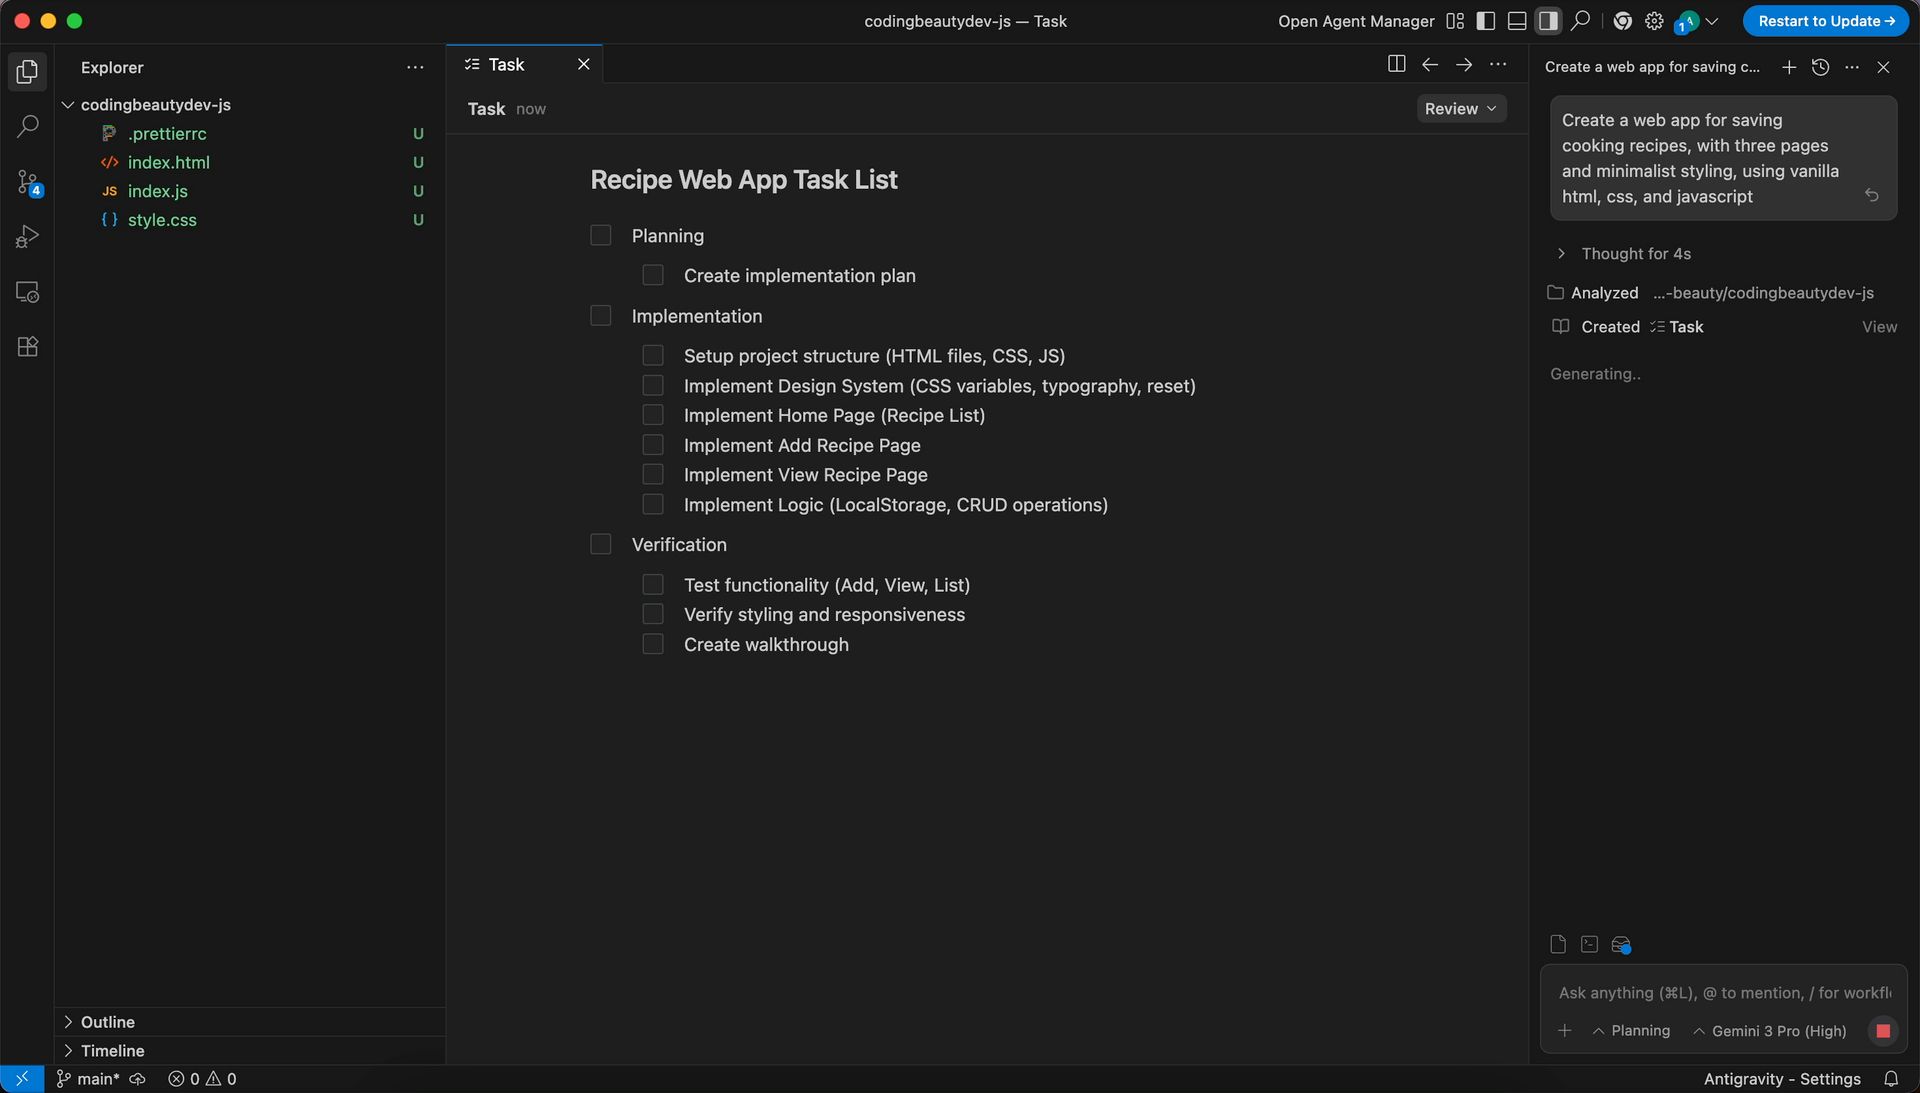
2. Define the task |
In the Agent Panel, use a prompt like: "Create a web app for saving cooking recipes, with three pages and minimalist styling, using vanilla html, css, and javascript". |
3. Approve the Plan: |
|
The agent will generate a Planning Artifact (a checklist of subtasks). Review and click Accept. |
4. Watch the execution |
The agent will scaffold the files, install dependencies in the terminal, and write the logic. |
5. Browser testing |
The agent will open an integrated window to click buttons and verify everything works as intended. |
6. Review artifacts |
Check the generated screenshots and recordings to ensure the ensure it matches your expectations (more on this in the next session). |
4) Use Artifacts to stay in top control |
Definitely one of the most game-changing Antigravity features. |
❌ Before: |
Agent tells you its progress and train of thought with just text. |
✅ Now in Antigravity: |
Agent tells you its progress in a multimodal way: |
Screenshots Screen recordings Plans and checklists Architectural diagrams
|
and so much more. |
It's a much more intuitive way to let you know what the agent did and why. |
For example, look at the video Antigravity created when testing the web app I told it to create: |
|
|
|
You don't need to be a coder to make AI work for you. Subscribe to Mindstream and get 200+ proven ideas showing how real people are using ChatGPT, Midjourney, and other tools to earn on the side. |
From small wins to full-on ventures, this guide helps you turn AI skills into real results, without the overwhelm. |
Get Your Free Guide |
What 100K+ Engineers Read to Stay Ahead |
|
Your GitHub stars won't save you if you're behind on tech trends. |
That's why over 100K engineers read The Code to spot what's coming next. |
Get curated tech news, tools, and insights twice a week Learn about emerging trends you can leverage at work in just 10 mins Become the engineer who always knows what's next
|
Join 100k+ engineers |


0 Komentar untuk "How to use Google Antigravity to become a high-value developer"